If you’ve followed my guide on how to dual boot Windows 11 and SteamOS together on the internal storage of the Steam Deck, you may run into a situation where the Steam Deck BIOS boot selection entry is gone after a BIOS update is installed. Read on to find out how to get yourself back in business.
The problem…
I personally encountered this when updating SteamOS to version 3.4.11, which included BIOS version 116 (v1.16?, F7A0116). The boot menu entry for SteamOS was no longer available.
Upon restart, Windows kept starting up instead of SteamOS.
When the BIOS is updated, the Steam Deck wipes configuration settings to ensure that it has a clean boot the next time. Any changes made to the default settings such as adjusting the VRAM split from 1GB to 4GB get reset to Valve defaults.
How to check if your Deck is affected
If Windows is installed and you cannot get back into SteamOS after an upgrade, you’ll need to do this remedy.
The Remedy
- Power off the Steam Deck. Hold Volume Up, and press Power. Continue holding Power until you hear the short beeps.
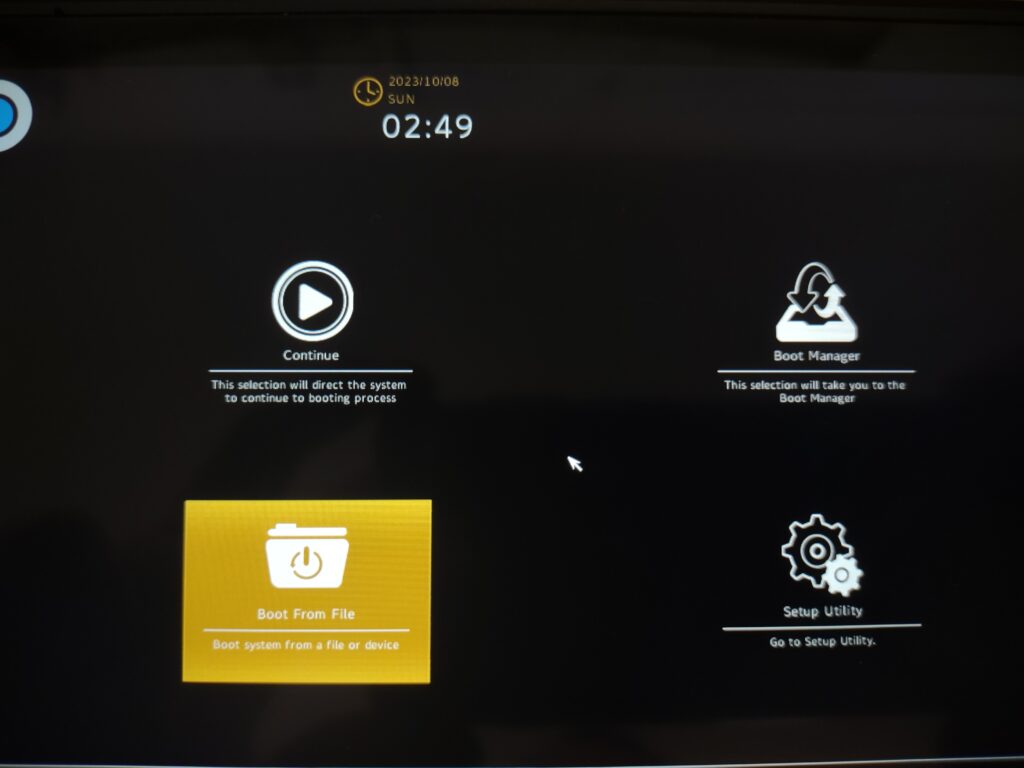
- You will now be at the BIOS Toolbox Menu. You want to use the D-Pad and A/B buttons to select the Boot From File option, like so:

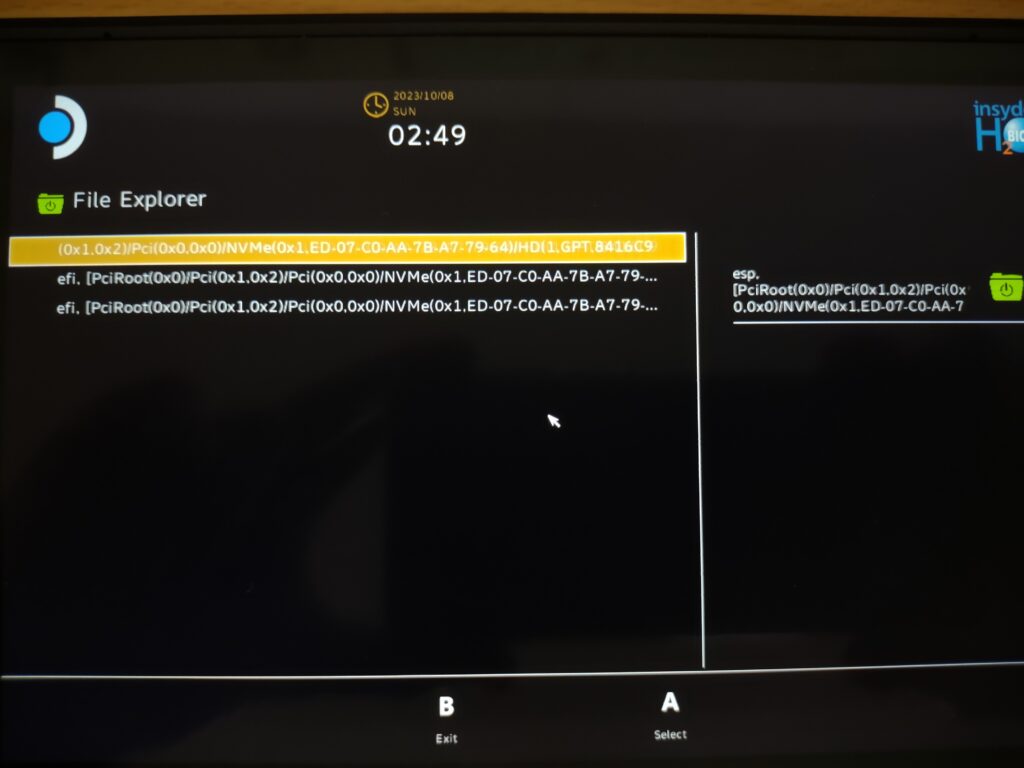
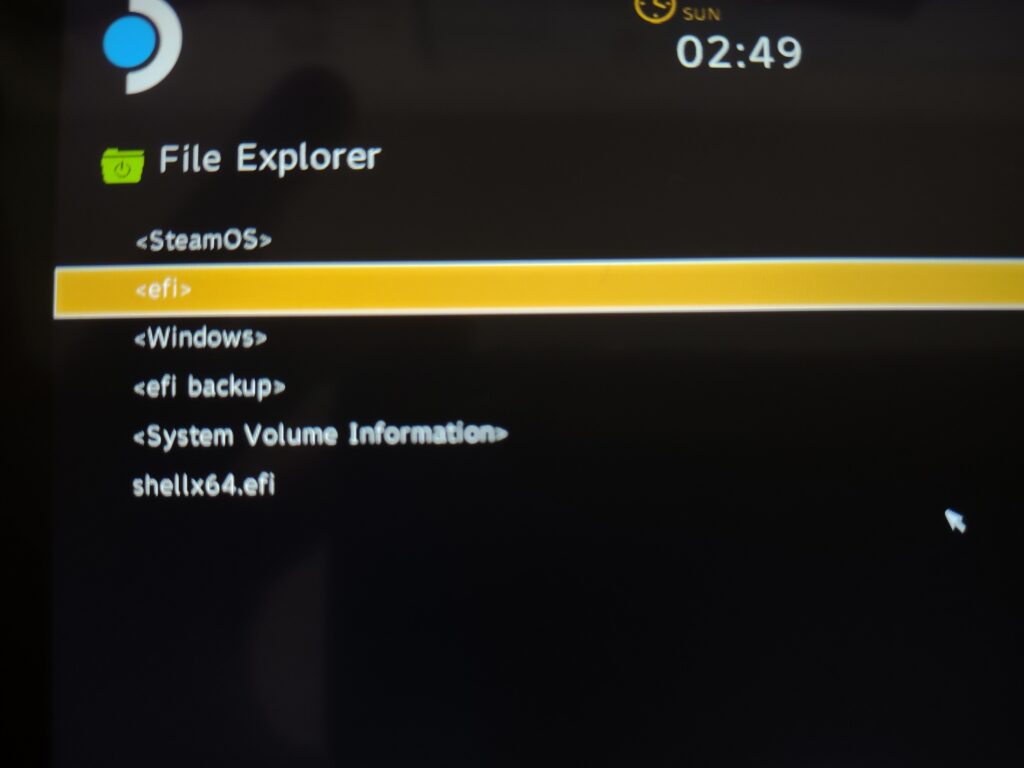
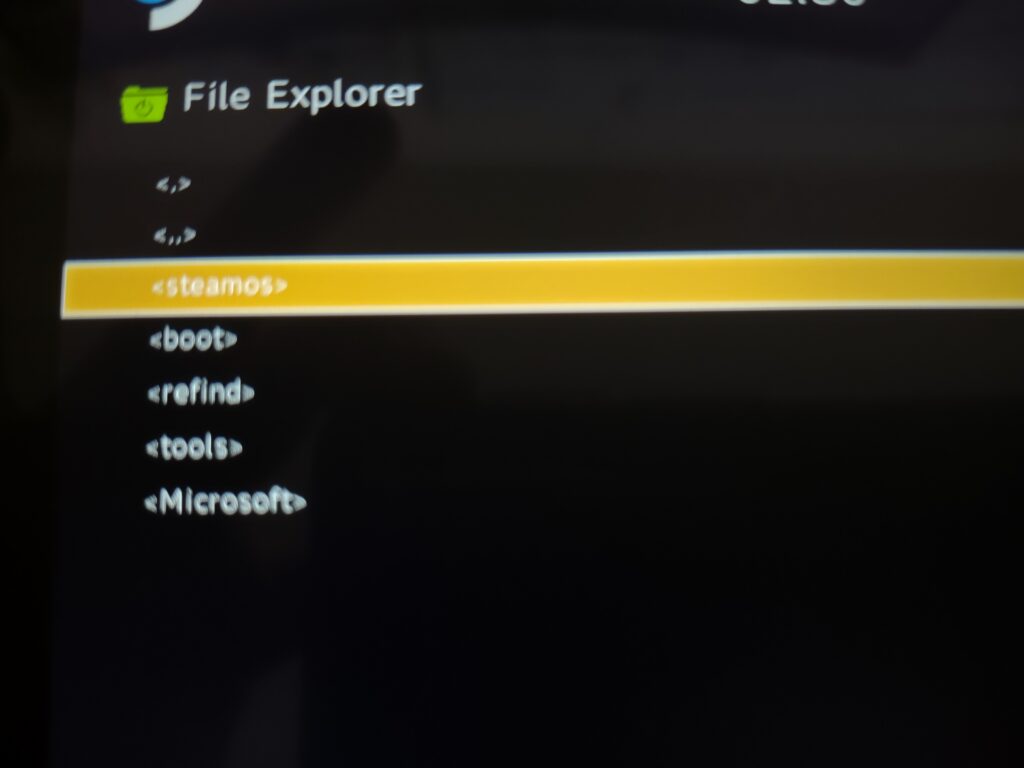
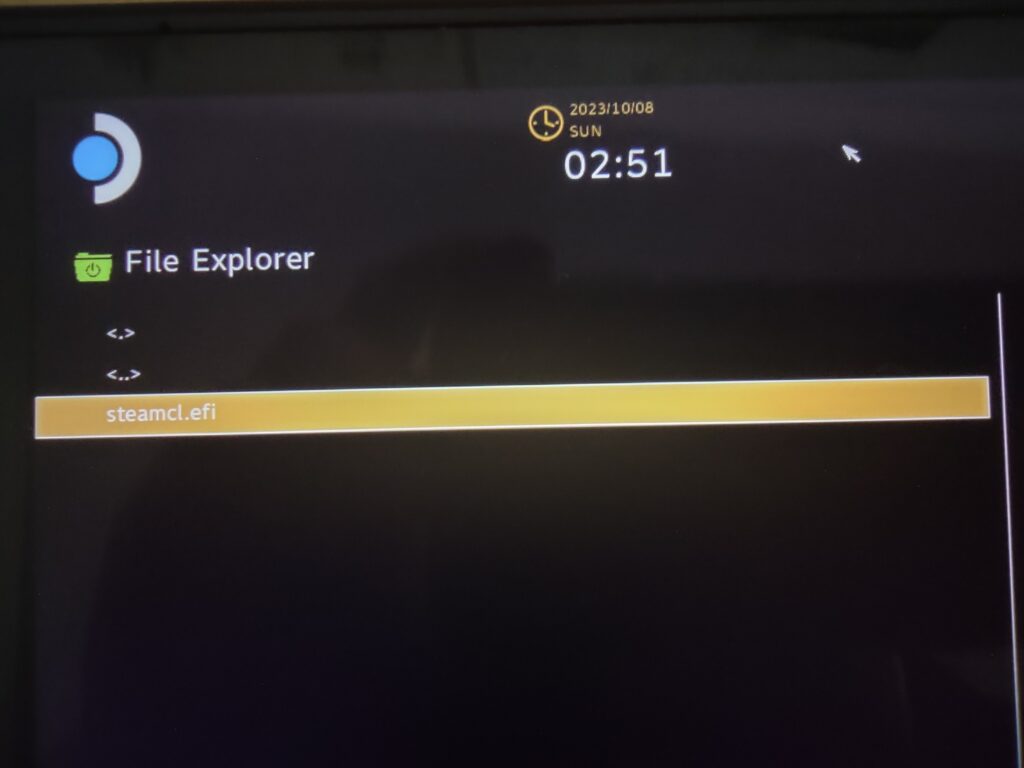
- Using the D-Pad and A/B buttons, select the following in this order: “ESP”, “efi”, “steamos” and finally “steamcl.efi”. Use the images below for guidance:


- The screen may go black for a few moments. Don’t panic! Once complete, the unit will boot back into SteamOS. As a bonus, the BIOS boot entry will be repaired.
Double Checking
Power down the Steam Deck. Press and hold Volume Down, then press Power until the short beeps are heard. Something like “Windows Boot Manager” and “SteamOS” in the boot menu should appear.
Now would be a good time to consider installing the rEFInd Bootloader.
What next?
That’s all you need to do to get SteamOS back up and running after a BIOS update. Happy gaming!
